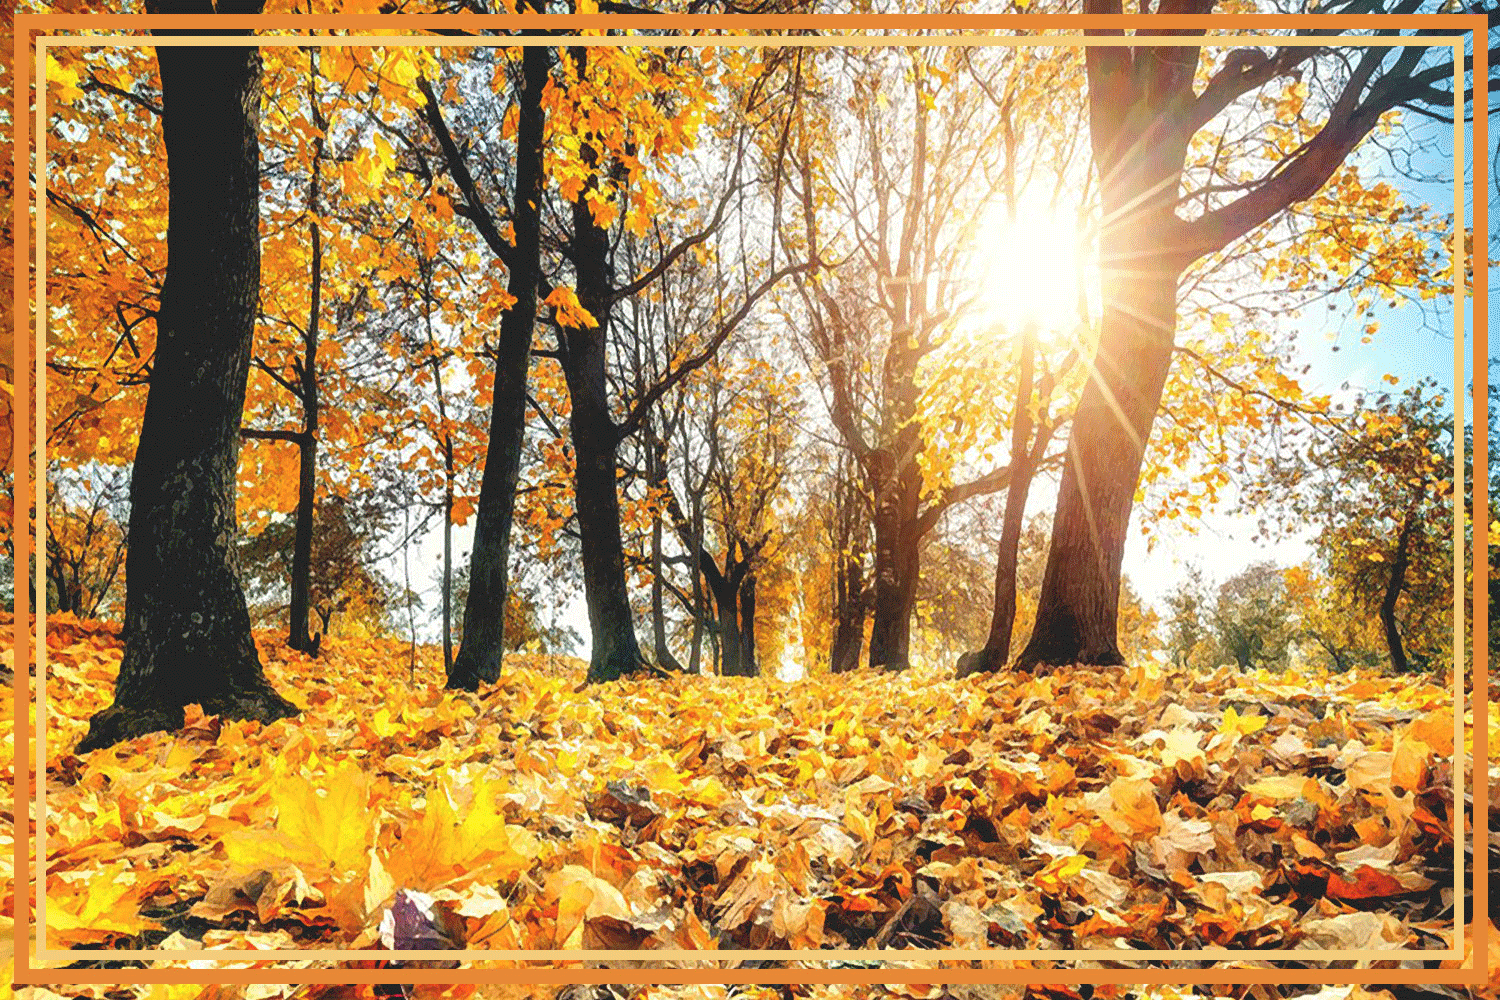
Fall is Here!
“I’m so glad I live in a world where there are Octobers.”
L.M. Montgomery, Anne of Green Gables
Hello Garden Friends,
Fall is here! Time to get out your sweaters, enjoy the cooler weather, beautiful warm fall colors, and in our household it’s football and nacho time! 🏈
Fall is also the time to plant spring flowering bulbs, such as daffodils, crocus, hyacinths, and alliums. My favorite bulb is the tulip. I absolutely adore tulips! I love their statuesque elegant form in such a wide array of styles and colors.

If you've never planted a tulip bulb, no worries, it's not heart surgery. There was a time many moons ago, when I thought the only way I could have tulips growing in my garden was to purchase them in bloom, and then plant them in the ground…🤪 Thank goodness, I have since learned that tulip bulbs are planted in the fall. They need a cold period (mimics their origin) to ensure the bulbs have a good root system to feed their foliage and spring blooms.
So, over the years, if you've been oohing and eyeing your neighbor's tulips and want to try your hand at growing them yourself, here's how to plant:
• Plant deep - 8 inches, measuring from the base of the bulb.
• Dip each bulb in a solution like Bobbex—chemical-free fertilizer that repels rodents.
• Plant 3-4" apart, pointed side up, flat root side down.
• Cover with soil, pat, water, mulch, and wait—piece of cake!
And, here are a few design tips:
• Plant in large drifts under deciduous trees and tall shrubs.
• Plant in clumps of as little as 5, but repeat loosely in a drift.
• Plant the same variety. Think bold strokes - big impact!
• Plant a few varieties in the same tonal range.
• Plant with low-growing spring blooming mounding perennials.
There are many resources available for purchasing tulip bulbs. I like to purchase for myself and for my clients online at Dutch Grown. Spending evenings with my laptop, a glass of prosecco, and drooling over all the choices is my happy place! Many local nurseries also carry bulbs this time of year.
However you buy your bulbs, be picky! Avoid bulbs with soft or insect damaged areas. Tulips should have their skins intact (also called tunics) or they'll be vulnerable to disease. A good rule of thumb, “the bigger the bulb, the bigger the bloom.” Next spring, your garden will be the one oohed and eyed over, with your long-stemmed, elegant, dazzling beauties!🌷
Flora Grubb Gardens

It’s the new Flora Grubb Gardens in L.A.! I was thrilled to spend time with Flora, who I’ve been following online for a number of years. Flora showed me around, while my husband Fred shot video. Click on the arrow and check it out.
Fall Tips for the Garden

There’s nothing like putting on a fresh pair of clean garden gloves to motivate me to get out in the garden and move my body—I currently have seven pairs that I rotate😬! I’ve also been inspired by the Netflix series, Live to 100: Secrets of the Blue Zones, to move my body as much as much as I can, and fall gardening is definitely a great way to move your body, and have a spruced up garden to boot!
1. Some of the most opulent trees to have in your garden this time of year include: maples, dogwoods, katsuras, and sourwood trees. With the growing season over, fall is a great time to plant dormant trees.
2. When the display of color is over, there are many options for managing your leaf debris. Leaves can be used for composting and amending soil, mulching veggie beds or ornamental shrubs, or if possible, leaving areas of leaf debris for beneficial insects and pollinators to overwinter in. Make sure you get the right rake for the job. There are many garden rakes available on the market, but not all serve the same function.
3. Many trees and shrubs can be pruned in fall as the plants go dormant. Using the proper tools like a hand pruner for small cuts, loppers for 1.5-2” cuts, and a pruning saw for 2-4” cuts ensures a safer pruning experience. Many perennials will start to brown and can be cut back, as well as late summer blooming shrubs, such as macrophylla hydrangeas will finish blooming, and should be pruned now before winter.
4. Cooler weather can jumpstart lawn growth, keeping your lawn mowed to a 2.5” - 3” height is ideal for grass health. Aerating, fertilizing with slow-release fertilizer, thatching, and overseeding are all important tasks that can be done in the fall to make sure your lawn will look great year-round.
5. Summer annuals are coming to an end, and now is a great time to change out your planters for fall arrangements. Plants such as ornamental grasses, mums, pansies, ornamental cabbage and peppers can make interesting arrangements with a variety of colors and textures. Adding in a small pumpkin or squash can make a festive focal point!
6. Birds, squirrels and other garden animals are stocking up on food and nutrients before winter comes. Putting up a hummingbird feeder is a great way to attract garden friendly wildlife. ‘Anna's’ hummingbird is the only hummingbird species found regularly during Oregon winters, so letting them know your yard is a source for a food can entice them to continue visiting through winter.
7. Make sure to adjust your irrigation schedule when the cool and rainy weather becomes consistent. Continue to adjust and monitor planting as we head into fall and don't turn your systems off too early. Many smart irrigation controllers have weather tracking systems that can automatically adjust your irrigation program according to the forecast!
Jack-o'-lanterns

The custom of making jack-o'-lanterns at Halloween began in Great Britain, but the carving of vegetables has been a common practice in many parts of the world. In the 1800’s turnips were hollowed out and carved with faces to act as lanterns on Halloween. In the United States, carving pumpkins was first associated with the harvest season, before it became a symbol of Halloween. An 1895 article, suggested giving lit jack-o'-lanterns to children as prizes for games played on Thanksgiving.
As a child, I remember picking out pumpkins at the grocery store, trying to find the perfect shape for carving. Once we got home with our 2 or 3 pumpkins, we would head to the kitchen, spread newspapers across the floor, get out the big butcher knife, and carefully cut the exact shape out of the top, which would be the jack o’ lantern’s lid, then start shoveling out all the seeds and stringy innards.
The next step was to figure out what kind of faces you were going to carve on your pumpkins. This is where your artistic prowess came into play. In those days, there were no fancy carving sets that are available now. It was just you and the butcher knife. When you were finished, you would light candles inside each of your jack o’ lanterns, and carefully set them all out on the porch. They looked so cool lit up, and they were a signal to the trick-or-treaters that you were open for business. 🎃

Enjoy, and as always love hearing from you!
Till the next time...
Love, Holly ~ Your Queen Bee at The White Pear